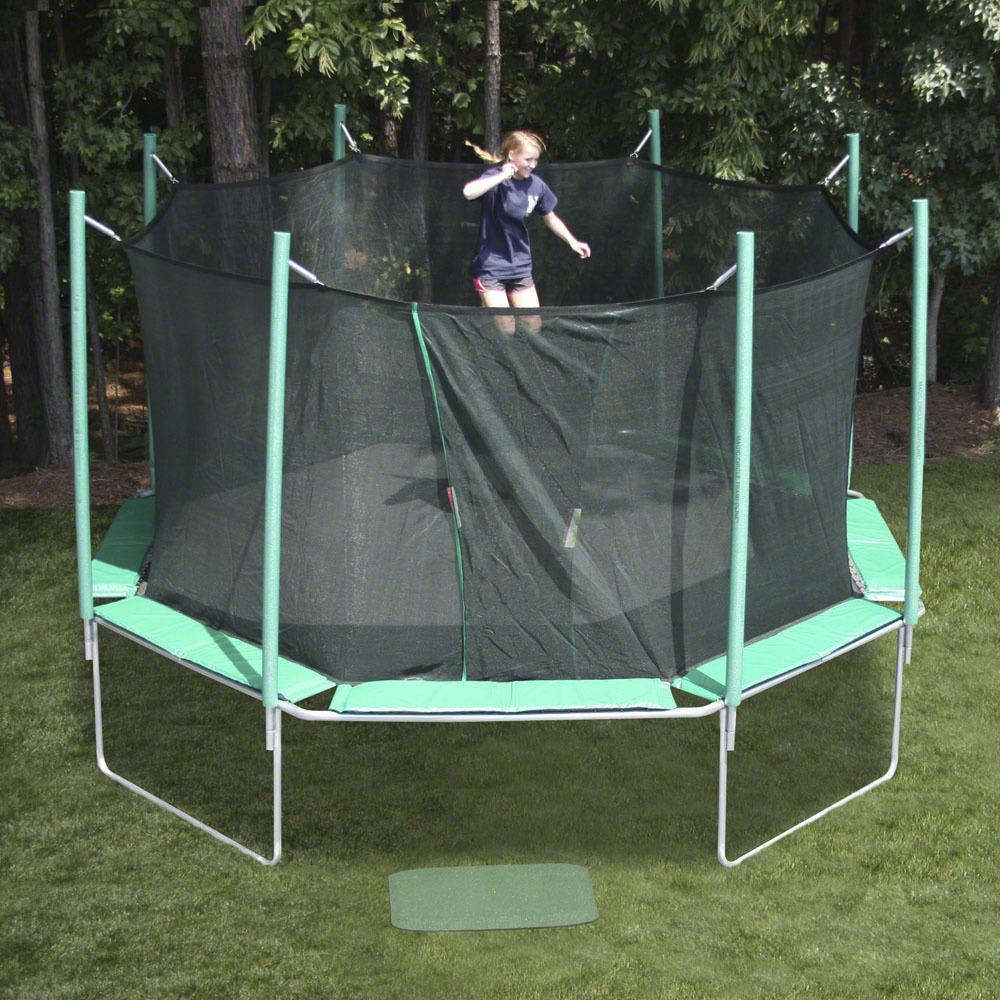
Many people are asking how to put a trampoline together. Yes, it is fun to play on a trampoline, but before you enjoy that fun, you have to undergo the challenging process of setting it up. Fortunately, many trampolines today are easy to install because of complete inclusions, from the metal frame to the enclosure net. Are you ready to learn more? If yes, then proceed reading below.
Step by Step Process of Putting Together a Trampoline
Seeing that you are still reading this part, you must really be eager to know how to put together a trampoline . First, choose your trampoline as each one is assembled differently depending on its manufacturer, type, and size. Most trampolines require a more complicated process than other trampolines manufactured worldwide. However, recently made trampolines like our Magic Circle Trampoline are easy to assemble. Here are the steps you can follow to set-up a trampoline.
Step-1: Take preparation to set up a trampoline
The preparation process is a crucial point of assembling a trampoline successfully. Although this process includes only a few steps, remember not to rush doing each step as a single mistake will prevent you from putting the trampoline together correctly and safely. Learn more about trampoline safety precautions.
Prepare your workspace
The first step in this process is to prepare your workspace. Proceed to the spot where you will place your trampoline and bring all the tools and equipment you need for the set-up.
Read trampoline assembly instructions
After that, read the setup instructions manual included in your trampoline's package carefully.
Put together all of the pieces
When you finish reading the manual, start laying down each part of your trampoline. It would be best to sort all pieces together according to your trampoline's structure. Plus, make sure that you take out all parts outside the box to see missing or damaged details. If you notice something wrong with the elements, call the company immediately for a replacement.
Note: If there is a missing or damaged piece, do not risk setting up the trampoline to prevent injuries.
Step-2: Assemble the lower structure of trampoline
How long does it take to put a trampoline together?
Now that you have everything ready, it is now time to start assembling. An average trampoline takes up to 40 minutes of assembly. However, you may lessen your assembly time if you seek help from other people. It would also be fun to put a trampoline together with your family or friends.
Put metal frame on the ground & connect the hexagonal pieces first
Start laying out the metal frame on the ground before attaching all the parts. Connect the hexagonal pieces until you achieve their intended shape. Once you formed the hexagon, start assembling the legs of the trampoline. Each leg has its corresponding spots, so ensure to find the fitted hole. Make sure that each piece is secured. If there are screws, bolts, and nuts included in the package, use the correct safety attachments.
Step-3: Mat Assembly

Flip the metal frame
Other trampoline requires springing the mat onto the frame first before assembling the enclosure. However, some trampolines have a different assembly version. When you are finished constructing the trampoline's lower structure, you can now start with its mat assembly. Flip the metal frame to see if it can stand without wobbling. If it stands firmly, it means you assembled the pieces correctly.
Attach the poles & enclosure net
Attach the poles with the heavy-duty spring onto the metal frame. After that, hang the enclosure using the springs attached to the bars. In this version, the enclosure net is sewn and secured with five stitches onto the jumping mat. Once the trap is hanging successfully, move on to setting up the springs to secure the jumping mat to the metal frame.
Placing the springs
Because of the mat's tension, placing the springs onto the frame gets more complex when you attach more springs . Therefore, it would help if you do this step with a partner. You should also try using a power tool to pull the trampoline springs and secure them onto the frame if attaching them by hand feels impossible to do.
Step-4: Finishing
When you are finished securing the jumping mat onto the frame, you can now attach the protective pad. Although this trampoline's version already has an enclosure net, it is still advisable to assemble the cushions to protect you from the springs. Don't worry because these protective pads are easy to secure, either by hooks, ropes, or Velcro straps, depending on the trampoline's type.
After all these steps, your trampoline is ready for your kangaroo hopping abilities. Start playing inside and enjoy to your heart's content. As you, now, know all the things to setup, do not forget that you have to maintain trampoline regularly to avoid accidents.
Set-up your trampoline and enjoy the moment
Learning how to put a trampoline together is exciting, especially if you have someone who helps you get the job done. The steps mentioned above are the easiest way to set-up a trampoline, so take this guide as the basics of trampoline assembly. Please keep in mind that each trampoline requires its own assembly process, but knowing the basic knowledge of putting one together gives you an advantage. A trampoline is not difficult to assemble, but it takes time, patience, and effort to do so.


